Description
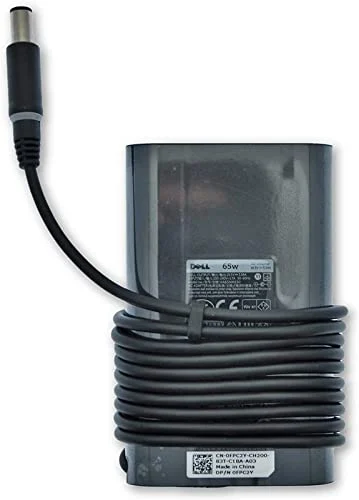
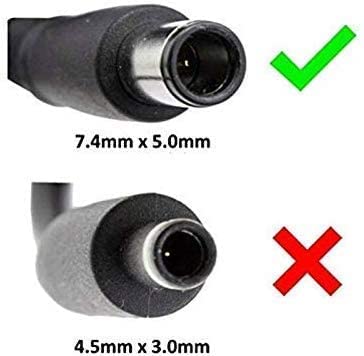
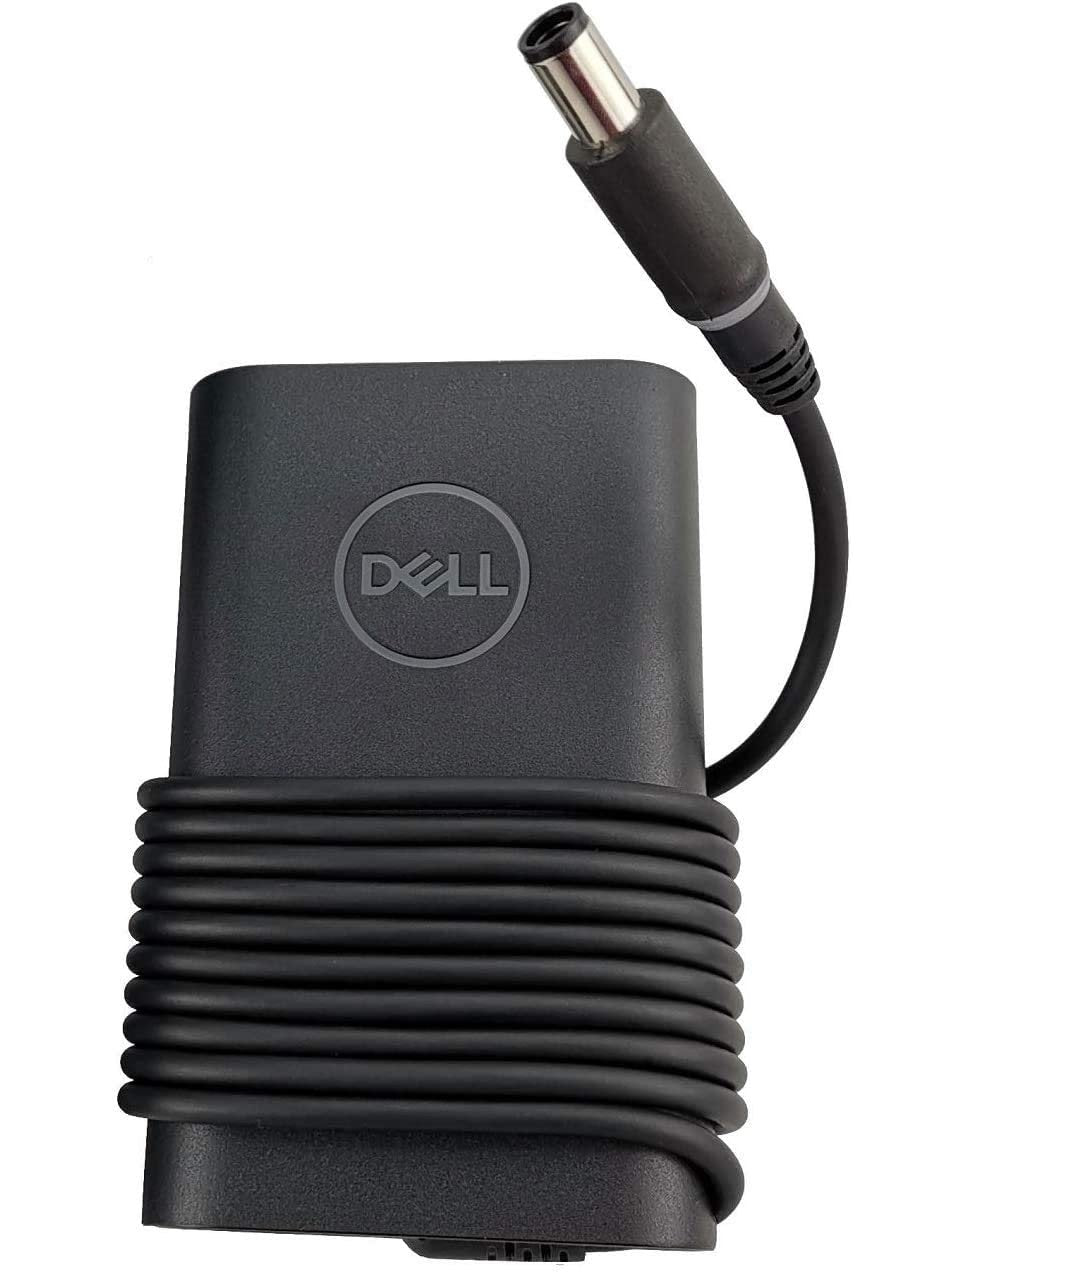
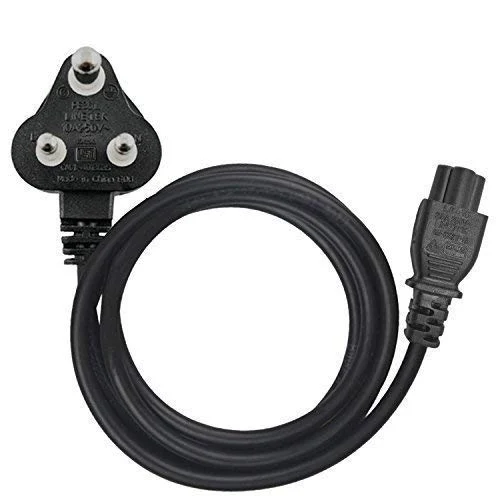
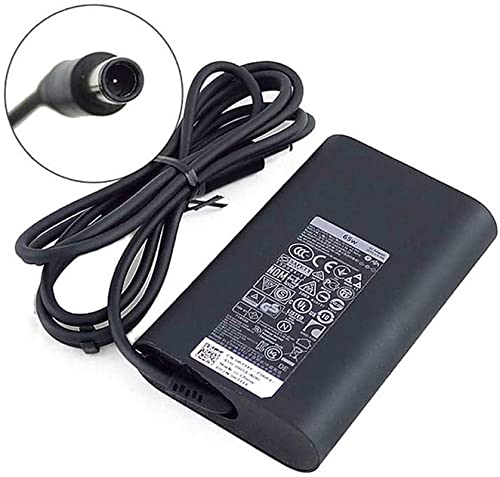
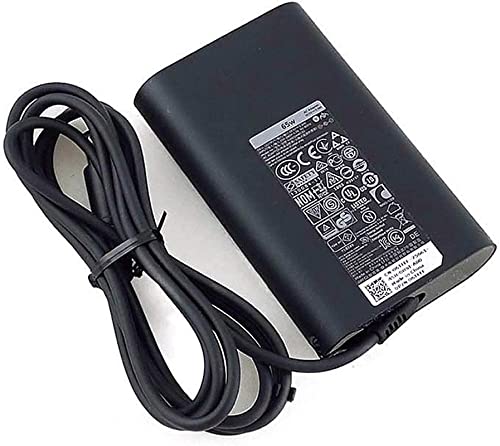
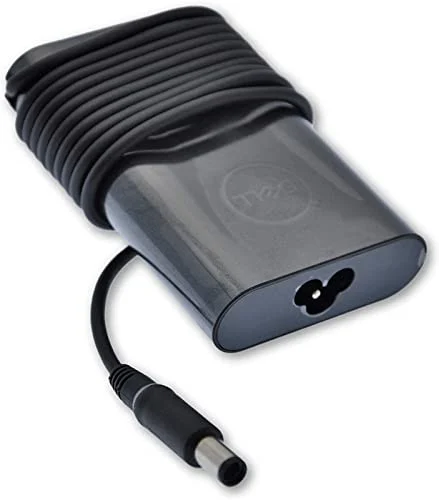
Genuine Original Dell 65W 19.5V 3.34A Latitude 3440 5290 5490 5590 7290 7480 E5440 E5470 E6540 E7440 Laptop Charger
Perform a hard reset
Most often, restarting the computer resolved many issues. The residual power in the computer may cause the laptop not to power on. Follow the steps below to drain the residual power.
- Power off the laptop. Press and hold the power button for 10-15 seconds.
- Disconnect the AC adapter or power cord, and remove the battery.
- Note: For certain Dell Latitude laptops, we recommend you try and recover the laptop using the forced ePSA method. See the Dell knowledge base article How to Use Forced ePSA to Recover from POST or Boot Failure on Dell Latitude PCs.
- Disconnect all external devices or peripherals like USB drives, printer cables, and media cards (SD/xD).
- Press and hold the power button for 15-20 seconds to drain residual power.
- Connect the AC adapter or power cord and the battery.
- Power on the laptop.
If this did not resolve the issue, proceed to the next step.
Inspect the AC adapter, cables, and adapter (DC) port on the laptop for damages
The AC adapter cable and power cables may get frayed or cut, and wires may become exposed at either end of the cables. This may be due to the way the cable is wrapped around the AC adapter, or if the cable is subject to undue stress. If the damage is severe enough to expose wires, you should discontinue using the AC adapter. To check the AC adapter, cables, and adapter port on the laptop for any damages:
- Unplug the AC adapter from the wall outlet.
- Unplug the AC adapter from the laptop.
- Check the AC adapter and cables (including the power cable) for signs of physical damage or overheating.
- Check if the pin inside the plug or adapter port is bent, broken, or damaged.
Verify that the wall outlet is working correctly
- Unplug the AC adapter from the wall outlet.
- Connect another device on the wall outlet to verify if the wall outlet is working correctly.
- Try a known-good wall outlet.
- Plug the AC adapter directly into the wall outlet.
Bypass any power regulators like surge protectors, UPS (uninterruptible power supply), power splitters.
Note: If the AC adapter is connected to a docking station, connect the AC adapter directly to the laptop to verify the functionality.If the wall outlet is working correctly, proceed to the next step.
Check LED indicator on AC adapter
Reseat the AC adapter by following these steps:
- Unplug the AC adapter from the wall outlet for 15 seconds.
- Unplug the AC adapter from the laptop.
- Plug the AC adapter to a known-good wall outlet.
- Plug the AC adapter to the laptop.
- Check the LED indicator on the AC adapter.
Note: LED indicator may be located either on the AC adapter brick or the adapter (DC) plug.If the AC adapter LED indicator is on, proceed to the next step.
If the AC adapter LED indicator is off or turns off when connected to the laptop, contact Dell Technical Support for repair options.
Connect a known-good AC adapter
Ensure that you are using the original AC adapter that was shipped with the laptop. Using an AC adapter from other laptops or one that has a lower wattage may cause the following issues:
- An error message like “The AC adapter type cannot be determined. This will prevent optimal system performance” or “Unknown or incorrect AC adapter detected” may appear.
- Your system may reduce the processor (CPU) speed to save power.
- The laptop battery might not charge or charge slowly.
- The AC adapter might heat up.
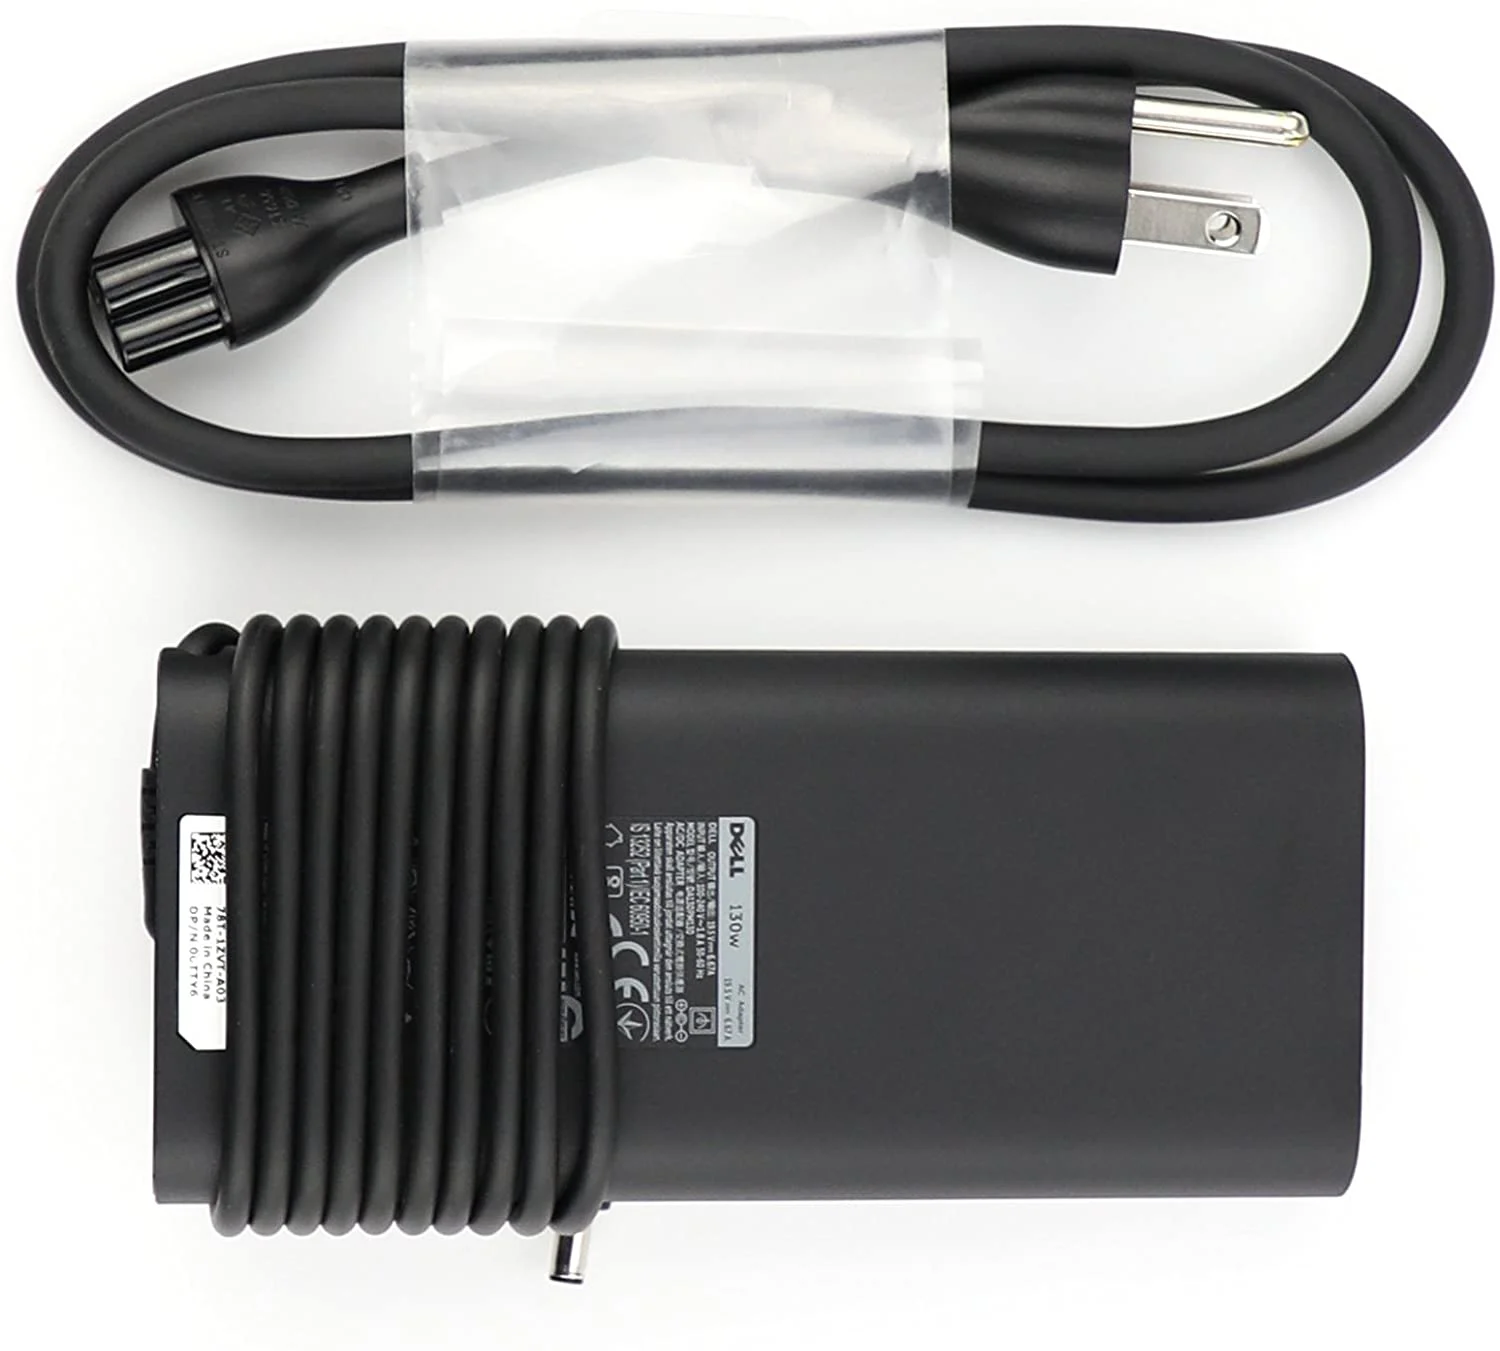
Dell laptops may use either a 45W, 65W, 90W, 130W, 180W, or 240W AC adapter. For optimal performance, use the original AC adapter that came with the Dell laptop. The AC adapter wattage information is printed on a label that is located on the bottom of the AC adapter.
If this did not resolve the issue, proceed to the next step
Run a diagnostic test on the system board
Certain Dell Inspiron, Latitude, Vostro, and Precision laptops are equipped with a motherboard built-in self-test (M-BIST). M-BIST is a built-in diagnostic tool that helps identify system board embedded controller (EC) failures. M-BIST must be manually initiated before Power-On Self-Test (POST) process and can be initiated on a Dell laptop that is not able to power on.
- Press and hold the M key and power button on the keyboard.
- Check the battery status LED:
- Note: To learn about the location of the battery status LED, see the User Manual of your Dell laptop.
- If an error is identified, the battery status LED will turn amber. Contact Dell Technical Support for repair options.
- If there is no error, the battery status LED will remain off.
If this did not resolve the issue, contact Dell Technical Support for repair options.


Reviews
There are no reviews yet.